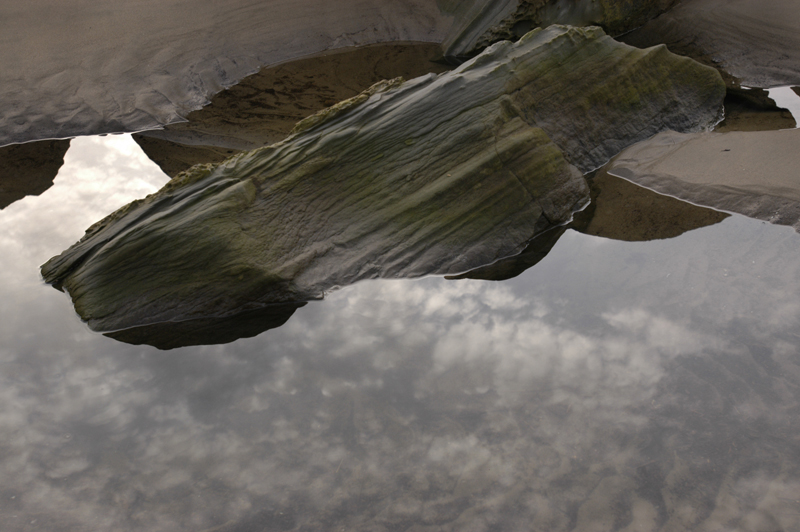
Darkening one area of a photograph is known as “burning”. Let’s start with this image from a beach in Oregon.

It’s a pretty good photo, but the lighter area on the left-hand side is a little distracting.
In Photoshop, go to Image > Adjustments > Curves and pull down the entire image so that it’s a bit darker.

We don’t want the entire image to be that dark, just the small section on the left-hand side, so we’re going to go to the history palette, undo the change, and set up the history brush. You can find it under Window > History.
Undo the Curves change by clicking on “Open”, and then click the little gray box on the left to set up the history brush.

Now, go over to your tools palette and choose the history brush.

You can change the size and everything about the brush just like any other. For this example, I’m going to use a brush 300 pixels wide set at 30% opacity.

Now, every time you click on the image, you will move that particular section of the image 30% closer to the change you made with your curves. You can then make the change subtle or harsh, depending on how much you click. If you don’t like your affect, you can always undo it.
Here’s the final image:
It’s not a very dramatic change, but that’s the point. You just have a little more detail than you had before, and you could always make the change more obvious by making the original Curves change more dramatic when you begin.
No comments:
Post a Comment